Water Woes? How to Filter Water at Home in a Pinch
When the water supply is compromised, knowing how to filter and purify water is a survival skill. Here are some main points to remember for emergency water filtration at home:
Key Takeaways
- Boiling is a reliable way to kill germs in water, but it’s best to filter out dirt first.
- Purification tablets or drops are handy for treating water quickly when you’re on the go or in a pinch.
- DIY filters using natural materials like sand, rocks, and charcoal can remove particles, but often need a second purification step.
- Gravity-fed filters and countertop systems offer good filtration for daily use and emergencies without needing electricity.
- Proper storage of filtered water in clean containers is vital to prevent re-contamination.
Understanding Emergency Water Filtration for Home
When the power goes out or a boil-water advisory is issued, having a plan for clean drinking water is super important. It’s not just about having water to drink; it’s about making sure that water is safe. Think about it – your regular water supply relies on electricity for pumps and treatment plants. If that fails, things can get complicated fast. Having a multi-layer filtration plan for outages and boil-water events is a smart move.
Why Water Filtration is Crucial During Outages
During a power outage, the municipal water system can be compromised. Pumps stop working, and treatment processes might halt, potentially allowing contaminants to enter the supply. Even if the water still flows, it might not be safe to drink. This is where home filtration comes in. It’s your first line of defense to make water potable when the usual systems are down. Having a plan for alternative power sources can also help keep your existing systems running, but filtration is key even then.
Identifying Potential Water Contaminants
What exactly are we trying to filter out? It varies, but common culprits include:
- Microbiological contaminants: Bacteria, viruses, and parasites from sewage or animal waste.
- Chemical contaminants: Industrial runoff, pesticides, herbicides, and even chemicals used in water treatment like chlorine.
- Physical contaminants: Sediment, dirt, and rust particles.
- Heavy metals: Lead, mercury, and arsenic, which can leach from pipes or occur naturally.
It’s tough to know exactly what’s in your water without testing, but during an emergency, you have to make educated guesses based on the situation. For instance, if there’s been flooding, you’d worry more about biological and sediment contamination.
During emergencies, the focus shifts from convenience to necessity. Your goal is to remove immediate threats to health, not necessarily to achieve spa-like water quality. Setting realistic expectations is part of being prepared.
Setting Expectations for Your Filtration Needs
Let’s be real: emergency filtration isn’t usually going to give you the crystal-clear, perfectly-tasting water you get from a high-end system. The primary goal is safety. You’re aiming to remove the most harmful stuff. Different methods will tackle different contaminants. For example, boiling kills germs but doesn’t remove sediment or chemicals. Tablets can kill germs too, but might leave a taste. Understanding what each method can and can’t do helps you choose the right approach for your situation. It’s all about making do with what you have and prioritizing what’s most important for survival. For more general emergency preparedness, check out this guide for homeowners.
Simple Filtration Methods for Immediate Use
When the taps go dry or the boil-water advisory hits, you don’t always have fancy equipment. Luckily, there are straightforward ways to make questionable water safer to drink. These methods focus on what you can do right now with minimal supplies.
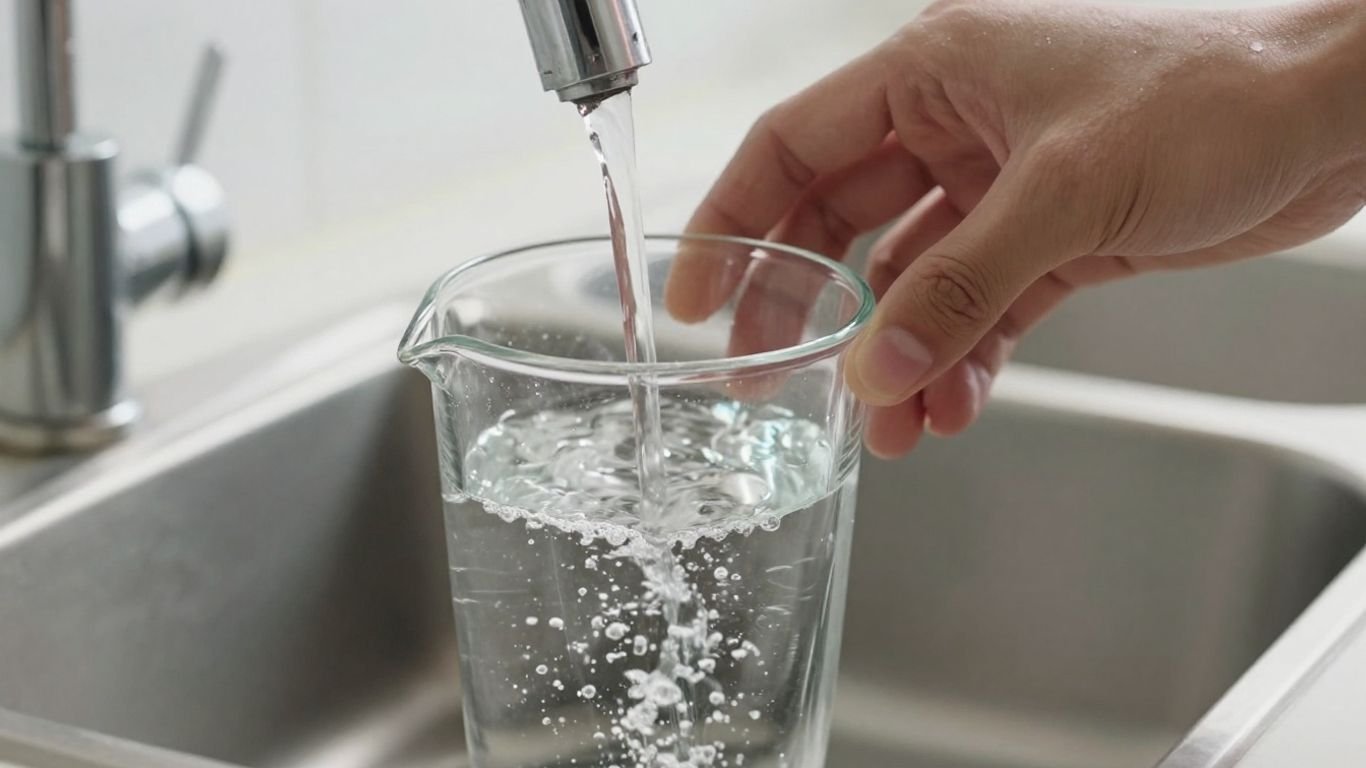
Boiling Water for Purification
This is probably the most reliable way to kill off germs in your water. Boiling water for at least one minute (or three minutes if you’re at high altitudes) will kill most bacteria and viruses. It’s simple, but it only works on clear water. If your water looks muddy or has bits floating in it, you need to do something about that first. Trying to boil really dirty water means you might still ingest minerals and other stuff that settled in. You’ll need a heat-proof container and a way to make fire. After boiling, let it cool down before drinking.
Using Purification Tablets and Drops
These little guys are lifesavers in a pinch. You can buy them at most outdoor or camping stores. They usually contain iodine or chlorine dioxide, which are chemicals that kill germs. Just follow the instructions on the package – you typically drop them into the water and wait a certain amount of time. They’re light, easy to pack, and don’t require any heat. Keep in mind that some people don’t like the taste they leave behind, and they might not work as well in really cloudy water. For cloudy water, you might want to pre-filter it first. These are a great addition to any emergency kit, alongside other preparedness items like backup power sources.
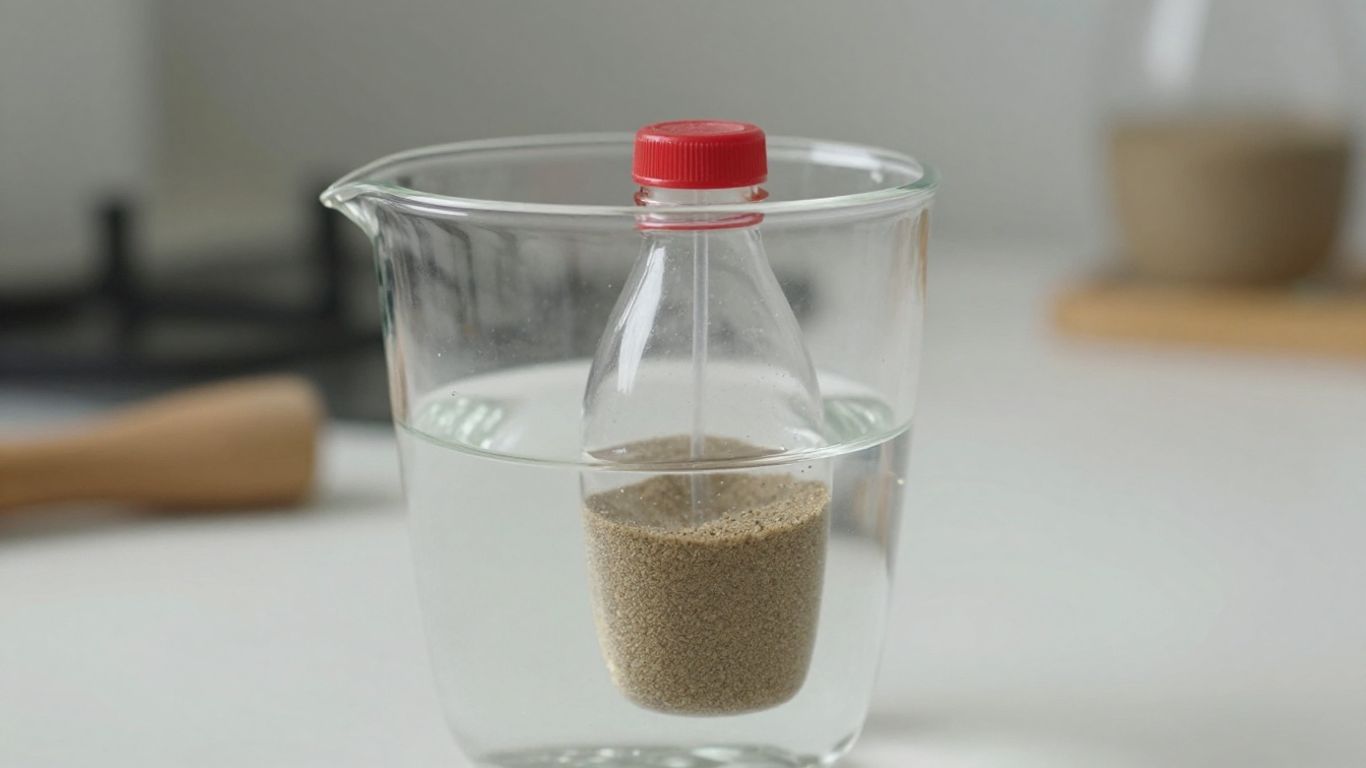
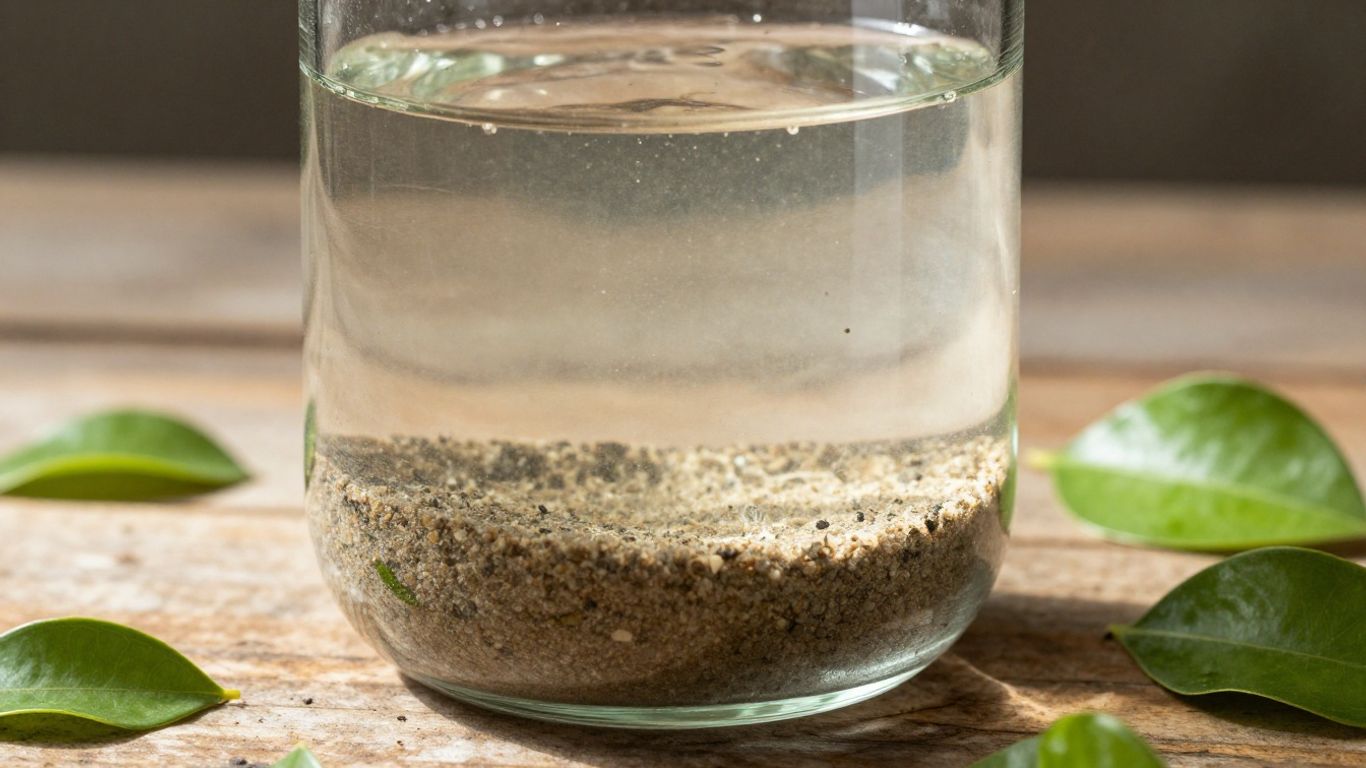
The Role of Sedimentation in Water Clarity
Before you can boil or treat water, you often need to get the gunk out. Sedimentation is basically letting your water sit still for a while. All the dirt, leaves, and other floating bits will eventually sink to the bottom. This leaves clearer water on top that you can carefully pour off into another container. It’s not a purification method on its own, but it’s a really helpful first step to make your water clearer, which helps other purification methods work better. You can speed this up a bit by letting the water sit in a sunny spot, which can help kill some germs too, a process known as solar disinfection. If you’re collecting rainwater, this is a good initial step before any further treatment, similar to how rainwater harvesting systems work.
Sedimentation is a simple, passive way to remove larger particles from water. It requires patience but significantly improves the effectiveness of subsequent purification steps like boiling or chemical treatment.
DIY Water Filters for Survival Situations
When the taps run dry or you’re caught out in the wild, knowing how to make a DIY water filter for emergencies is a game-changer. It’s not about creating crystal-clear, laboratory-grade water, but about removing the gunk and making it safer to drink. These methods are your go-to drinking water solutions during an outage when commercial options aren’t available.
Constructing a Cone Filter with Natural Materials
This is a classic survival technique. You’ll need a container, like a plastic bottle with the bottom cut off, or even a large, sturdy leaf fashioned into a cone. The idea is to layer different materials to catch impurities. Start with a piece of cloth or some moss at the narrow end to keep everything else from falling out. Then, you can add layers of fine sand, followed by coarser sand, then small pebbles, and finally larger rocks. Each layer helps trap different sizes of particles. This multi-layer approach is key to effective filtration.
Utilizing Cloth or T-Shirts as Emergency Filters
Don’t underestimate the power of fabric! A clean T-shirt, bandana, or even a few layers of cheesecloth can act as a surprisingly effective filter for larger debris. If you have a T-shirt, you can tie it over the mouth of a container or stuff it into the neck of a bottle. While it won’t remove microscopic nasties, it’s a great first step for murky water, removing leaves, dirt, and other visible gunk. If possible, washing or boiling the cloth first is a good idea to reduce its own contaminants. This is a simple way to get a portable water filter for survival ready in minutes.
Incorporating Sand, Rocks, and Charcoal
These natural materials are your best friends when building a filter. Sand, in various grain sizes, is excellent for trapping smaller particles. Rocks and pebbles help with larger debris and create space for water to flow. Activated charcoal, if you can make some by burning wood until it’s charred and then crushing it, is particularly useful. It can help absorb some chemicals and improve the taste and odor of the water. Remember, even after using these materials, you’ll likely still need to boil the water to kill off any remaining pathogens. It’s all about reducing the load before the final purification step.
Building a DIY water filter is a practical skill that can make a significant difference when you need to know how to make safe drinking water at home or in the field. It’s a testament to resourcefulness in challenging times.
Here’s a quick rundown of what to consider for your layers:
- Top Layer: Larger rocks or gravel to catch big debris like leaves and twigs.
- Middle Layers: Sand (coarse then fine) to trap smaller particles.
- Bottom Layer: Fine sand or cloth to prevent finer materials from escaping.
- Optional (but recommended): A layer of crushed charcoal for absorption.
Remember, these filters primarily remove sediment. For truly safe drinking water, always follow up with boiling or chemical treatment. You can find more detailed instructions on how to easily construct a DIY water filter if you want to practice before an emergency strikes.
Advanced Filtration Techniques and Systems
When basic methods like boiling or using tablets aren’t enough, or if you’re looking for a more permanent solution for your home, there are several advanced filtration systems to consider. These systems offer a higher level of purification and convenience, especially for everyday use or during extended outages.
Exploring Gravity-Fed Countertop Filters
These systems are often a good middle ground, offering better filtration than simple DIY methods without the complexity of under-sink or whole-house units. They work by letting water slowly pass through one or more filter cartridges, usually housed in stacked chambers. Look for models made from durable materials like stainless steel to avoid plastic leaching. They’re great for apartments or if you move often, as they don’t require permanent installation. Maintenance usually involves cleaning the chambers and replacing filter elements periodically. Some advanced gravity filters can remove a wide range of contaminants, including heavy metals and fluoride, but it’s important to check the specific filter’s capabilities. You can find top-rated water filters for your home in 2026 that fit this category here.
Understanding Under-Sink and Reverse Osmosis Systems
Under-sink filters are a popular choice for households that want cleaner water without taking up counter space. They connect directly to your cold water line and typically have a separate faucet. These can range from simple carbon filters to multi-stage systems that tackle specific issues like lead or chlorine. Reverse Osmosis (RO) systems take filtration a step further. They use a semi-permeable membrane to remove a very broad spectrum of contaminants, often down to 0.0001 microns. While RO is highly effective, it does produce wastewater and can strip beneficial minerals from the water. Many people add a remineralization filter or a pinch of good quality sea salt to their RO water to reintroduce minerals.
- Multi-stage filtration: Combines different filter types (sediment, carbon, RO membrane, post-filters) for thorough purification.
- Water waste: RO systems reject some water to flush the membrane, so factor this into your water usage.
- Mineral depletion: Consider remineralization for taste and potential health benefits.
- Installation: Requires basic plumbing knowledge or professional installation.
While RO systems are incredibly effective at removing contaminants, they also remove beneficial minerals. It’s often recommended to reintroduce these minerals for taste and health, perhaps by adding a small amount of high-quality salt or using a remineralizing filter. This ensures you’re not just getting pure water, but also healthy water.
Considering Whole House Filtration Solutions
For the ultimate in water treatment, whole house filtration systems are installed where the main water line enters your home. This means every tap, shower, and appliance gets filtered water. These systems are the most comprehensive and can be customized to address specific local water issues, whether it’s hard water, high levels of sediment, or specific chemical contaminants. They are the most expensive option upfront and require professional installation, but they offer the convenience of treating all your water at once. If you’re dealing with widespread water quality issues or simply want the best for your entire home, this is the way to go. Backup solutions for well water during power outages can also be integrated with these systems, like those discussed for well water systems.
Natural and Unconventional Water Purification
Sometimes, when you’re in a real bind, you have to get creative with your water. We’re talking about methods that don’t rely on fancy gadgets, just what nature or simple household items can offer. These techniques can be lifesavers when modern conveniences are out of reach.
The Principle of Distillation for Salt and Mineral Removal
Distillation is a neat trick for separating water from dissolved solids like salt or minerals. Think about it: if you find yourself near the ocean or in a place with really mineral-heavy water, drinking it straight could actually make you more dehydrated. Distillation works by heating water until it turns into steam, leaving the impurities behind. Then, you collect the condensed steam, which is pure water. You can rig this up with a large pot, a smaller heat-resistant container to catch the pure water, and a lid. Place the smaller container inside the larger one, fill the larger one with the impure water, and cover it. Angle the lid so that condensation drips into the smaller container. Sunlight can even help drive this process. While it takes time and the right setup, it’s a solid way to get cleaner water.
Exploring Plant-Based Water Filtration Methods
This one sounds a bit out there, but certain plants actually have properties that can help clean water. It’s not something to mess with unless you’re absolutely sure about your plant identification, though. Getting it wrong could be seriously bad news. Some plants, like certain seeds or fruit peels, have been known to help remove contaminants. It’s a bit of an advanced topic, and you’d need to be very familiar with local flora to attempt this safely. For most of us, this is more of a last-resort, survival-scenario kind of thing.
Using Hollowed Rocks for Water Collection
This is a pretty basic, almost primitive, way to collect water. The idea is simple: find a large rock that has a natural hollow or depression in it. If it’s rained, this hollow can collect rainwater. It’s not really a purification method on its own, but it’s a way to gather water that might otherwise be lost. You’d still need to purify whatever you collect, but it’s a starting point. Think of it as nature’s little catch basin. For more reliable water collection, you might want to look into basic water collection techniques.
When dealing with cloudy water, letting it sit undisturbed for a while is a good first step. This process, called sedimentation, allows heavier particles to sink to the bottom. You can then carefully pour or scoop off the clearer water from the top. It’s a simple way to improve water clarity before you even start thinking about other purification steps. This is especially helpful if you’re using a cloth filter later on, as it reduces the amount of gunk the cloth has to deal with. Remember, sedimentation is just the first step in making water safer.
Maintaining Water Quality Post-Filtration
So, you’ve gone through the trouble of filtering or boiling your water. That’s a big win! But the job isn’t quite done yet. How you store that clean water is just as important as how you cleaned it in the first place. Mess this part up, and you could undo all your hard work.
Proper Storage of Filtered and Boiled Water
Think of your filtered or boiled water like fresh produce – it doesn’t stay perfect forever. For the best quality, it’s a good idea to store it in clean, sealed containers. If you’ve got a fridge, that’s the ideal spot. Filtered tap water, whether from a pitcher or a more complex system, is generally good for about one to two weeks when kept cold. For emergency supplies, it’s recommended to replace the water every six months. Always label your containers with the storage date so you know when it’s time for a refresh. Storing emergency water properly is key to having a reliable supply.
Enhancing the Taste of Treated Water
Let’s be honest, sometimes filtered or boiled water can taste a little… flat. This is especially true if you’ve used methods like distillation or reverse osmosis, which remove minerals along with the contaminants. To liven it up, you can add a tiny pinch of good quality sea salt, like Celtic or Himalayan pink salt, to a gallon of water. It sounds weird, but it can make a surprising difference. You can also try adding a slice of lemon or cucumber if you have some on hand, though this is more for immediate consumption than long-term storage.
Avoiding Contamination from Storage Containers
This is where things can go wrong quickly. Whatever you use to store your water needs to be squeaky clean. If you’re using reusable bottles, make sure they’re washed thoroughly between uses. Avoid plastic containers if possible, as some plastics can leach chemicals into the water over time, even if they’re labeled ‘BPA-free’. Glass or stainless steel are much better options for long-term storage. If you’re using a dispenser, clean the spigot regularly to prevent any buildup. Remember, even the cleanest water can become contaminated if it sits in a dirty container.
A clean container is your last line of defense against re-contaminating your water. Don’t let a dirty bottle ruin your efforts.
Here’s a quick rundown of what to keep in mind:
- Cleanliness is King: Always start with clean containers.
- Seal it Tight: Use lids that seal well to prevent airborne contaminants from getting in.
- Keep it Cool: Store water in a cool, dark place, away from direct sunlight and heat.
- Label and Date: Know when you stored the water so you can replace it on time.
Conclusion
Having a plan for safe drinking water during emergencies is super important. Whether it’s a simple boil, a DIY filter, or a more advanced system, knowing how to get clean water can make a big difference. Don’t wait for a crisis to think about this; start preparing now so you and your family are ready for anything.
Frequently Asked Questions
What’s the easiest way to make water safe to drink if the power goes out?
The simplest method is usually boiling. If your water looks dirty, try to strain out the gunk first with a clean cloth or coffee filter. Then, boil the clear water for at least one minute (longer if you’re high up) until it’s bubbling hard. Let it cool before drinking.
Can I really make a water filter from stuff I find around the house or outside?
Yes, you can! A common DIY filter uses a bottle cut in half, layered with things like cloth, sand, small rocks, and charcoal. This helps remove dirt and bigger bits. However, this kind of filter usually doesn’t make the water totally safe to drink on its own, so you’ll likely still need to boil it or use purification tablets afterward.
Are water purification tablets worth having?
Absolutely. These small tablets or drops are great for emergency kits. They contain chemicals that kill off harmful germs and bacteria in the water. Just make sure you follow the instructions carefully for the right amount of water and waiting time before you drink it.
What if my water tastes weird after filtering or boiling?
Boiled water can sometimes taste flat. You can improve the taste by pouring it back and forth between two clean containers a few times, or by adding a tiny pinch of salt for each quart of water. This helps add some of the air and flavor back.
How should I store water after I’ve filtered or boiled it?
It’s best to store your safe water in clean containers that have tight lids. This stops new germs from getting in. Make sure the containers are washed well before you use them for storing your purified water.
What’s the difference between filtering and purifying water?
Filtering is mostly about removing the yucky stuff you can see, like dirt, leaves, or sand. It makes the water clearer. Purifying goes a step further by killing tiny germs, like bacteria and viruses, that you can’t see but can make you really sick. Often, you need to filter first, then purify.